

Welcome to Photo Overlay and Watermark!
This area will be used to present various topics to help you get the most out of your Photo Overlay and Watermark app. These topics will include basic how-to content and some interesting application ideas and instructions on how to make these ideas work.
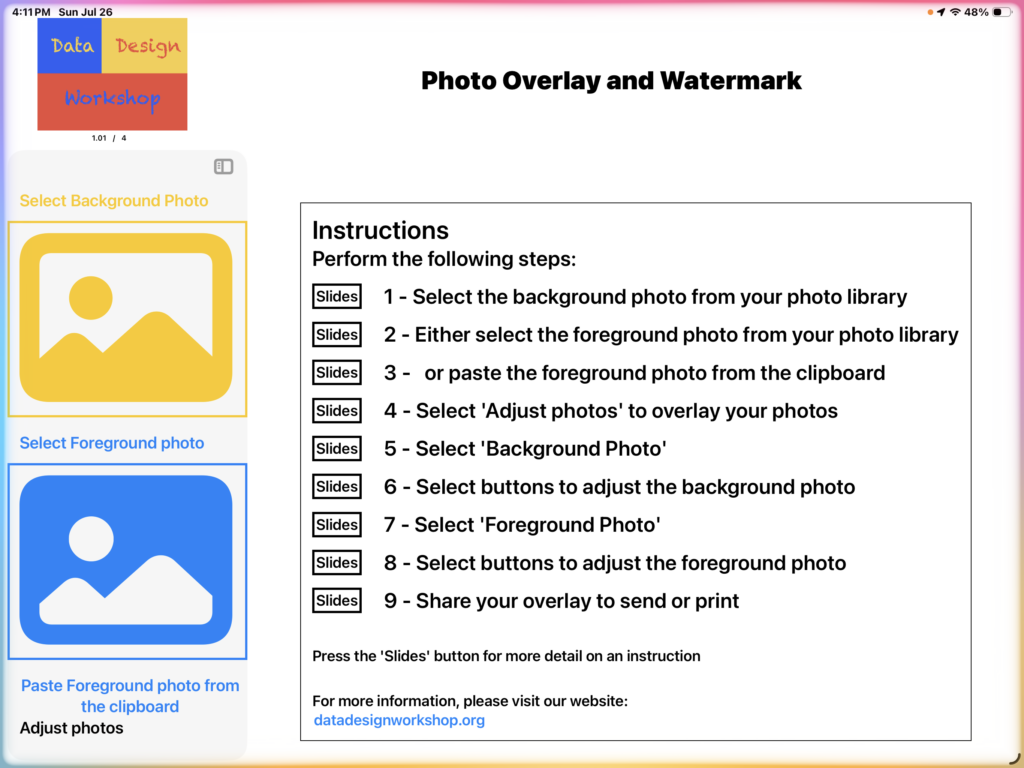
The first posting will be a basic how-to. The first and most important action to take with Photo Overlay and Watermark is to select two photos from your Photo Library. The initial display when you start the app on an iPad is:
The iPhone has a smaller screen, so the initial display on an iPhone is slightly different:

The information is the same but the display is broken into two parts, the selection panel from the left side of the iPad display, and the various displays that will show up on the right side. Both work exactly the same. For simplicity, the iPad version will be used for this post.
To select one of your photos to be used as the background picture, click anywhere in the yellow text “Select Background Photo” or in the yellow placeholder picture. Later your photos will replace the placeholder picture. Note that, whenever the app is working with the background photo, the frame and all controls will be displayed yellow to help ensure you are working with the correct picture.
You are ready now to select the background photo. Click one of the yellow elements:
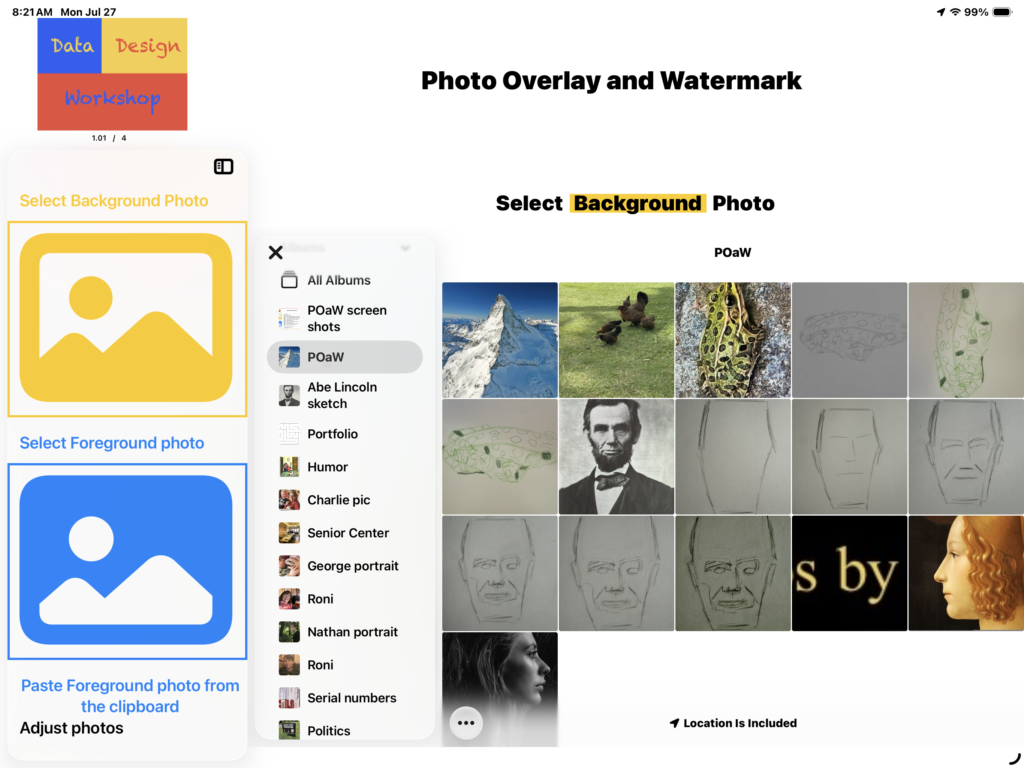
The right side display shows what Apple calls the Photo Picker. This lets you find and choose a photo from your Photo Library. An important point here is that the Photo Library is considered very private by Apple. The app cannot read photos from your Photo Library without your permission. You may have encountered apps that ask for permission to use your whole Photo Library. The Photo Picker avoids this blanket permission by limiting the app to only the specific photos you select. That eliminates the need to expose the entire library. You can now select a photo or refine your search by selecting a folder to see the photos in that folder.
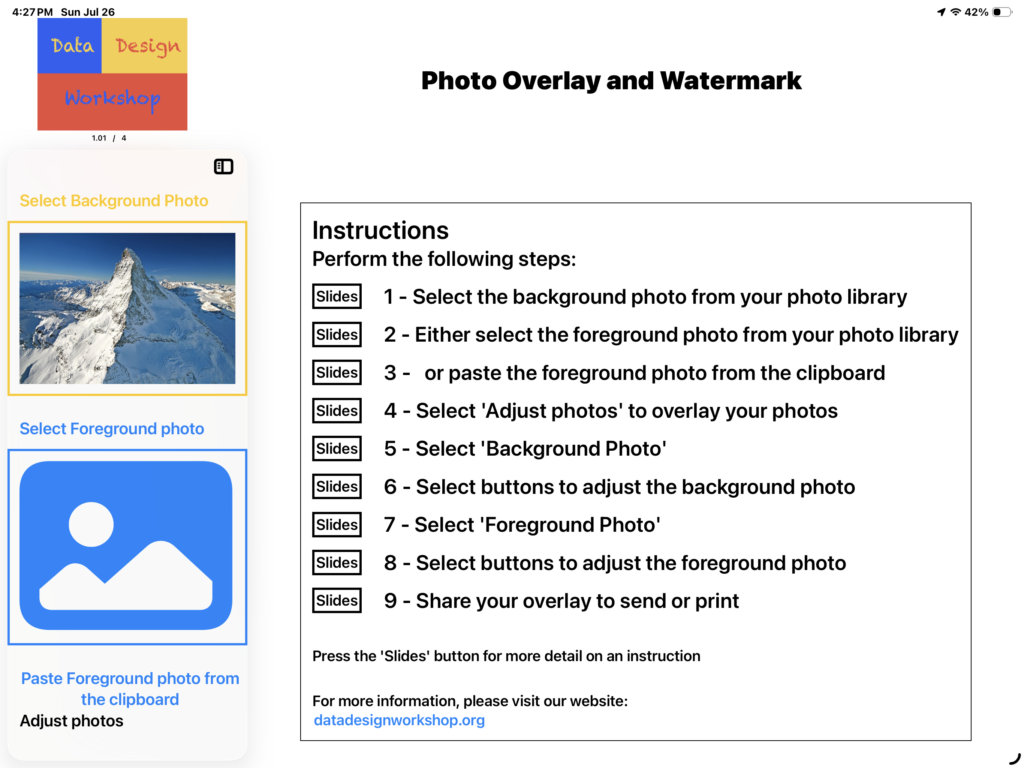
Select a photo. In this case, the photo of the mountain peak was selected. The photo you selected will replace the yellow photo placeholder in the yellow frame.
Now choose your foreground photo. All references to the foreground photo will be in blue instead of yellow. Note that there are two lines in blue. We will deal with the line “Paste Foreground photo …” in the next posting. So click on either the “Select Foreground photo” line or on the blue placeholder photo.
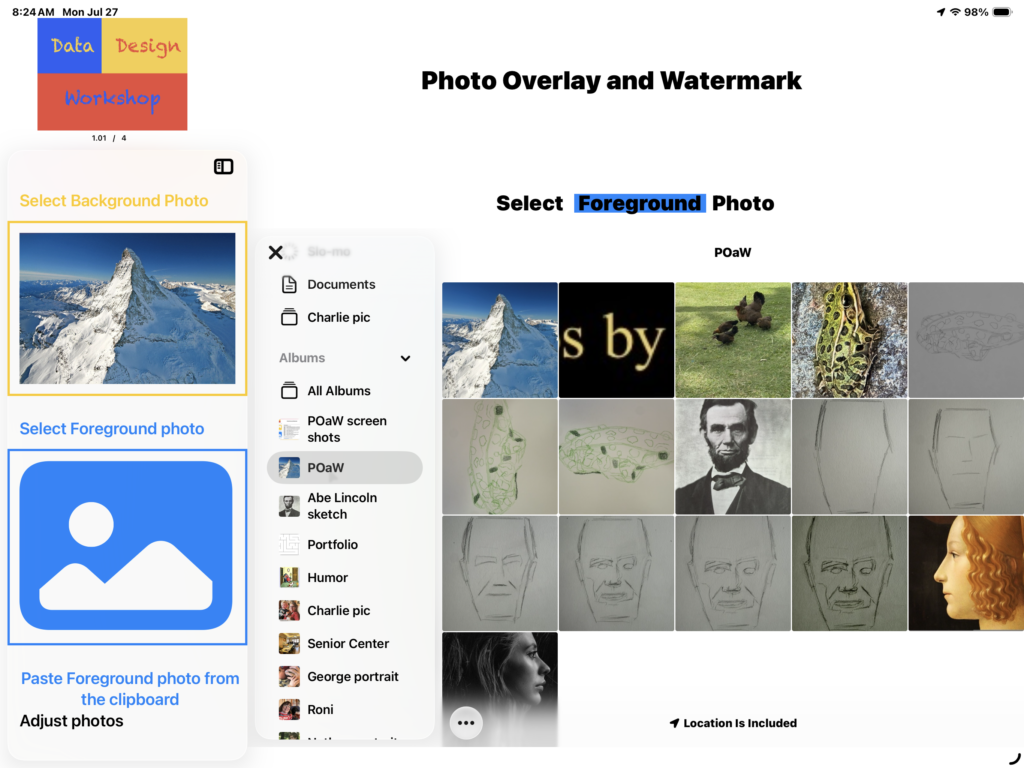
Here we are back at the Photo Picker but this time the title reminds us that our choice will be the Foreground Photo. The photo to the right of the mountain with yellow letters on back is the photo that is chosen here.
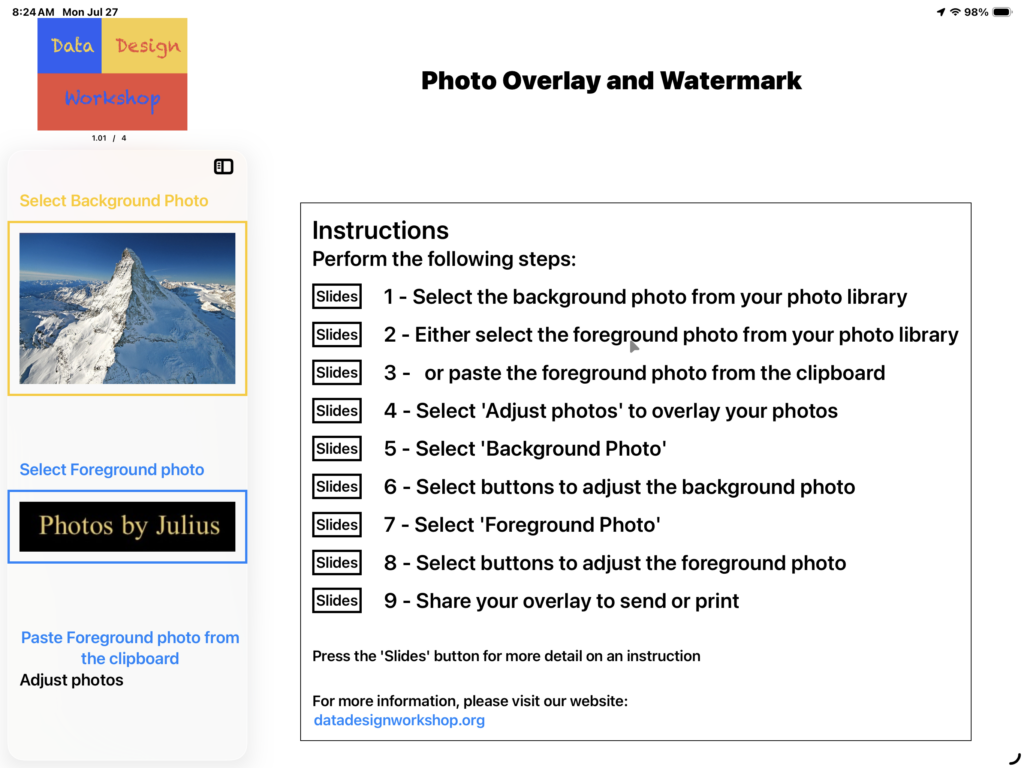
That’s it for this post. Both photos have been successfully selected.
Leave a Reply